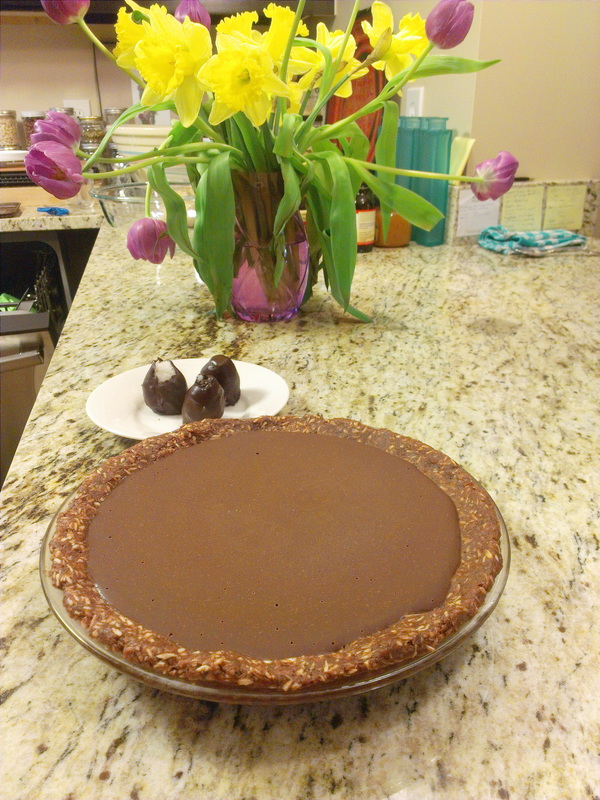
For a healthy vegan dessert this pie is deceptively sweet and rich, which means that a whole week after Easter we still have half a pie left! This is not to suggest that it isn’t amazing, but it must be eaten in tiny portions (or you will regret it).
I cannot claim this creative recipe as my own it is from Oh She Glows and you should check out her original post for its beautiful photos. This was my second time making the pie and I use her recipe with only one alteration: I leave out the ground flax because I think the taste is better without it.
I cannot claim this creative recipe as my own it is from Oh She Glows and you should check out her original post for its beautiful photos. This was my second time making the pie and I use her recipe with only one alteration: I leave out the ground flax because I think the taste is better without it.

Chocolate Coconut Pie
Vegan, grain-free, processed sugar free
Ingredients:
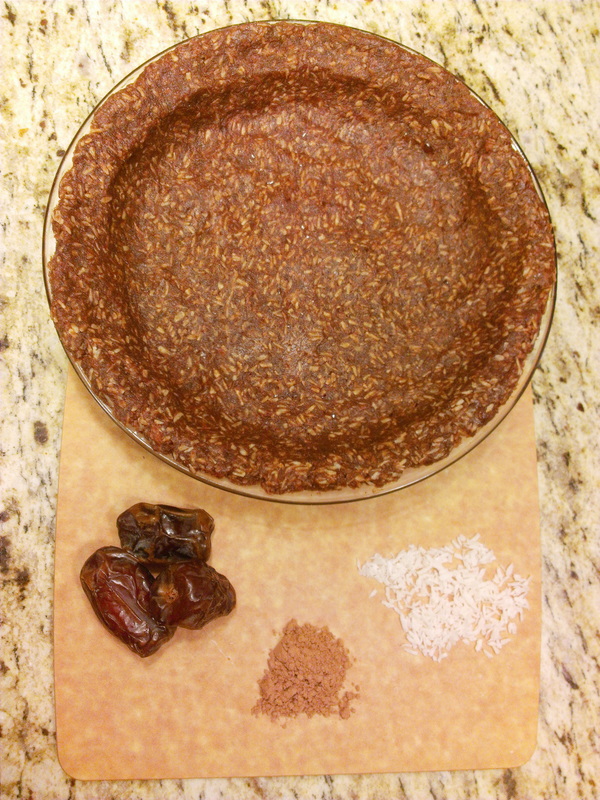
Crust:
1 ¼ c. pitted dates*
1 ¼ c. coconut
2 ½ tbs. raw cocoa
1 tbs. coconut oil
¼ tsp. salt
Filling:
1 c. coconut milk (full fat)
300 g. chocolate
3-4 tbs. maple syrup/honey*
1 tsp. vanilla
pinch of salt
*soak ahead of time if they are firm.
* depending on how sweet the chocolate you are using is. If you use an unsweetened baking chocolate you will need all 4 table spoons, but if you use a baking bar or chips that are semi-sweet then you will want less or none at all.
Directions:
1. Toast the coconut. This is not essential, but it only takes 7-10 minutes at 350 and adds to the texture.
2. Line the 9-inch pie plate with saran-wrap. You absolutely want to do this. The second time I decided I would just grease the pie plate and I spent a long time carefully chiseling each piece of pie out.
3. A food processor is the best way to prepare the crust, but if you don’t have one it is possible to do it without one. If you are not using a food processor you should definitely soak the dates. If you have an emersion blender that can be used to pulverize the dates, this is what I did the first time I made it.
4. Start the crust by putting the dates either in a food processor or using an emersion blender or blender to pulverize them.
5. Then continue to add the ingredients to the dates in order until they are all combined. If you are using a food processor do they whole crust in it. If you used a blender or emersion blender I would mix the other ingredients in by hand.
6. Now the crust should be in a ball feeling sticky but pliable. Place the ball in the middle of the pie plate and begin flattening it out. Be careful to press the dough out evenly in all directions, so that you don’t end up with too much on one side. Set the crust aside.
7. To prepare the filling begin by melting the chocolate in a double broiler or over low heat with consistent stirring. Once it is smooth let it cool to room temperature.
8. Combine the melted chocolate and the coconut milk and whisk until smooth.
9. Whisk in the sweetener, vanilla, and salt.
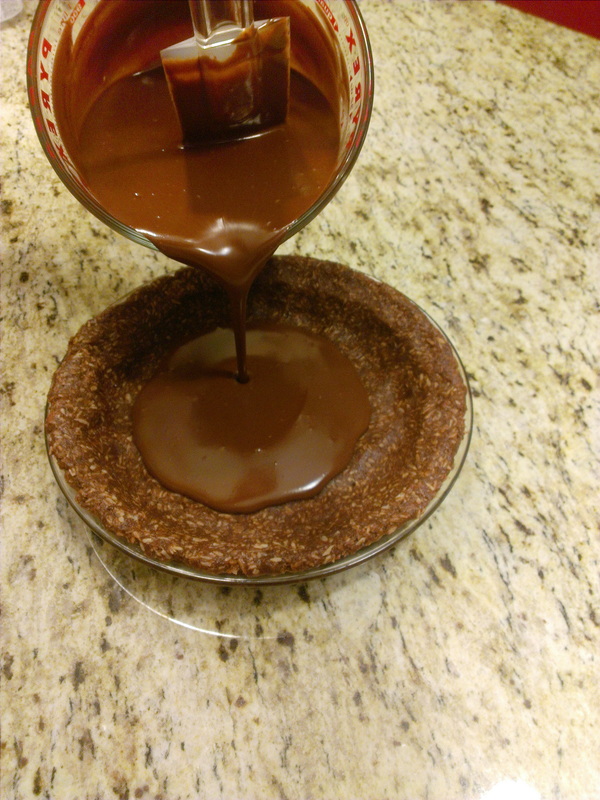
10. Spoon the filling into the pie crust and carefully set it in the freezer to harden. There might be a bit more filling than fits into the crust. Both time I put the extra in a ramekin and froze it as well.
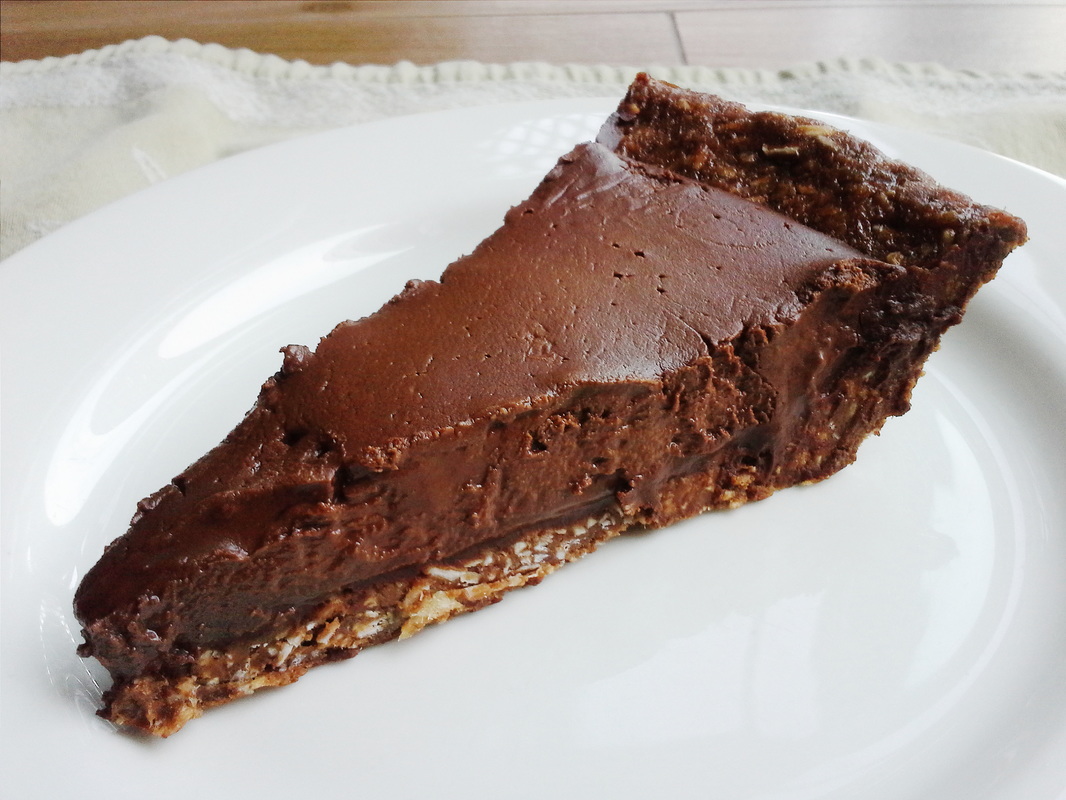
I hope you guys enjoy this recipe as much as we have. Let me know if you make it and what you think of the results!
Vegan, grain-free, processed sugar free
Ingredients:
Crust:
1 ¼ c. pitted dates*
1 ¼ c. coconut
2 ½ tbs. raw cocoa
1 tbs. coconut oil
¼ tsp. salt
Filling:
1 c. coconut milk (full fat)
300 g. chocolate
3-4 tbs. maple syrup/honey*
1 tsp. vanilla
pinch of salt
*soak ahead of time if they are firm.
* depending on how sweet the chocolate you are using is. If you use an unsweetened baking chocolate you will need all 4 table spoons, but if you use a baking bar or chips that are semi-sweet then you will want less or none at all.
Directions:
1. Toast the coconut. This is not essential, but it only takes 7-10 minutes at 350 and adds to the texture.
2. Line the 9-inch pie plate with saran-wrap. You absolutely want to do this. The second time I decided I would just grease the pie plate and I spent a long time carefully chiseling each piece of pie out.
3. A food processor is the best way to prepare the crust, but if you don’t have one it is possible to do it without one. If you are not using a food processor you should definitely soak the dates. If you have an emersion blender that can be used to pulverize the dates, this is what I did the first time I made it.
4. Start the crust by putting the dates either in a food processor or using an emersion blender or blender to pulverize them.
5. Then continue to add the ingredients to the dates in order until they are all combined. If you are using a food processor do they whole crust in it. If you used a blender or emersion blender I would mix the other ingredients in by hand.
6. Now the crust should be in a ball feeling sticky but pliable. Place the ball in the middle of the pie plate and begin flattening it out. Be careful to press the dough out evenly in all directions, so that you don’t end up with too much on one side. Set the crust aside.
7. To prepare the filling begin by melting the chocolate in a double broiler or over low heat with consistent stirring. Once it is smooth let it cool to room temperature.
8. Combine the melted chocolate and the coconut milk and whisk until smooth.
9. Whisk in the sweetener, vanilla, and salt.
10. Spoon the filling into the pie crust and carefully set it in the freezer to harden. There might be a bit more filling than fits into the crust. Both time I put the extra in a ramekin and froze it as well.
I hope you guys enjoy this recipe as much as we have. Let me know if you make it and what you think of the results!

 RSS Feed
