Andrey loves Bounty Bars, a popular imported candy bar here in Russia. They are very good chocolate filled with coconut just like a Mounds Bar, but like all mass-produced candy bars their ingredients list is full of lots of things that are difficult to pronounce. We all know that candy bars do nothing good for our health, but sometimes a sweet treat is necessary. For both Andrey and I Bounty and or Mounds bars remind us of our childhood, but when we split one today we are always struck by how overly sweet they are and then by the guilt of eating something that unhealthy.
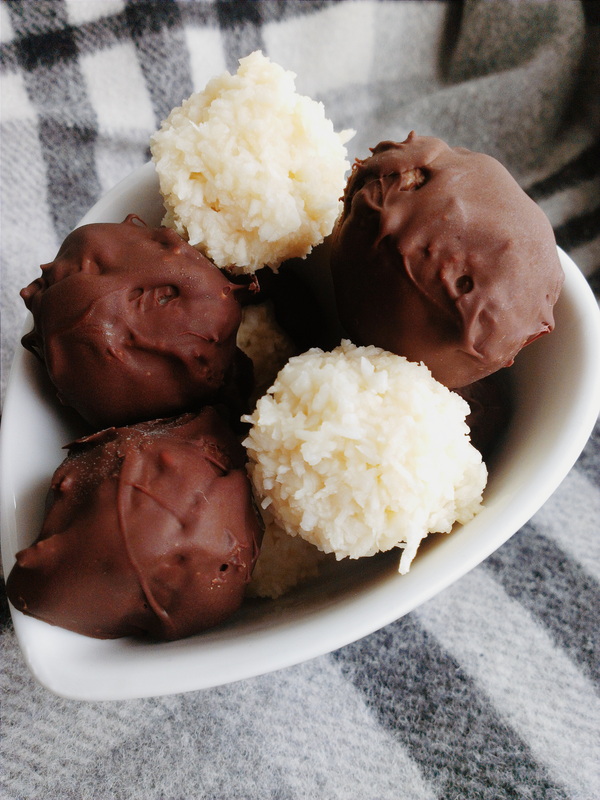
A few weeks ago Andrey was have a Bounty craving while we were picking some things up at the local health food store. The store sells goods from a couple of locals who make natural, healthier chocolate and candies and on that day they happened to have a chocolate bar filled with coconut. It cost 4 times as much as a Bounty, but we figured it was worth a try. Unfortunately, we were very disappointed. This bar was not sweet at al, it had a sour taste, and the chocolate was waxy. This experience sent me on a researching frenzy to find a simple, healthy recipe for Bounty bars I could make at home without any fancy equipment. I found my answer on Detoxinista. The recipe is super simple, I was able to whip it up on a day I was also baking bread and making soup. Even better the finished product is delicious, just sweet enough to satisfy and full of coconut flavor!
With Valentines Day around the corner it is the perfect time to whip up a batch of these for someone special. What’s better than receiving a homemade tasty treat that is free of the chemicals and guilt that come with the store bought box of truffles?
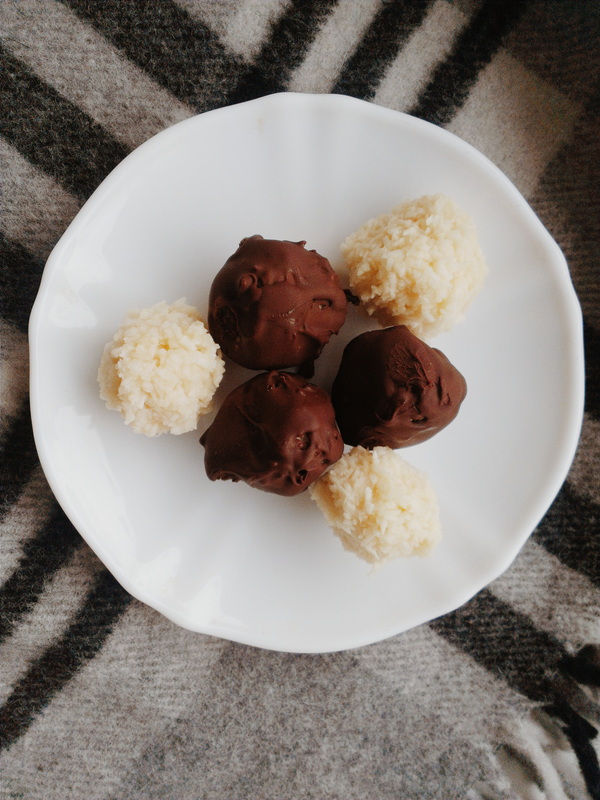
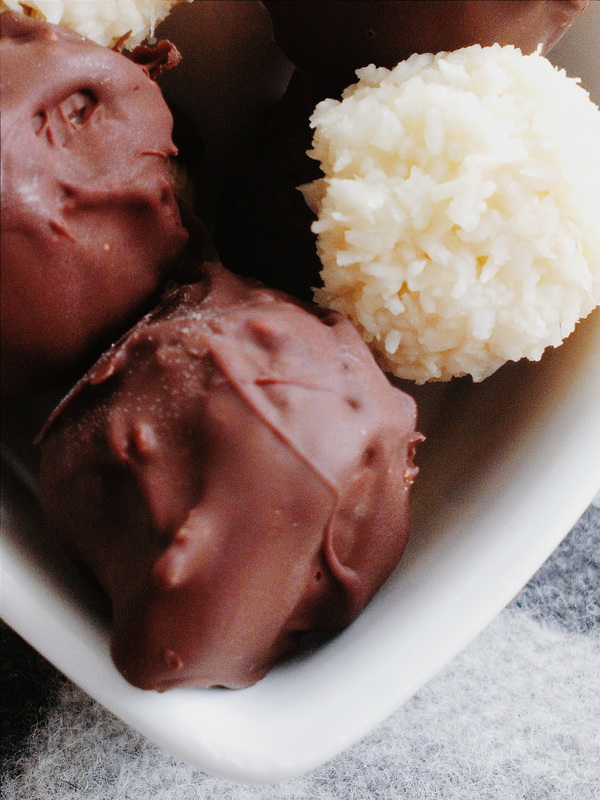
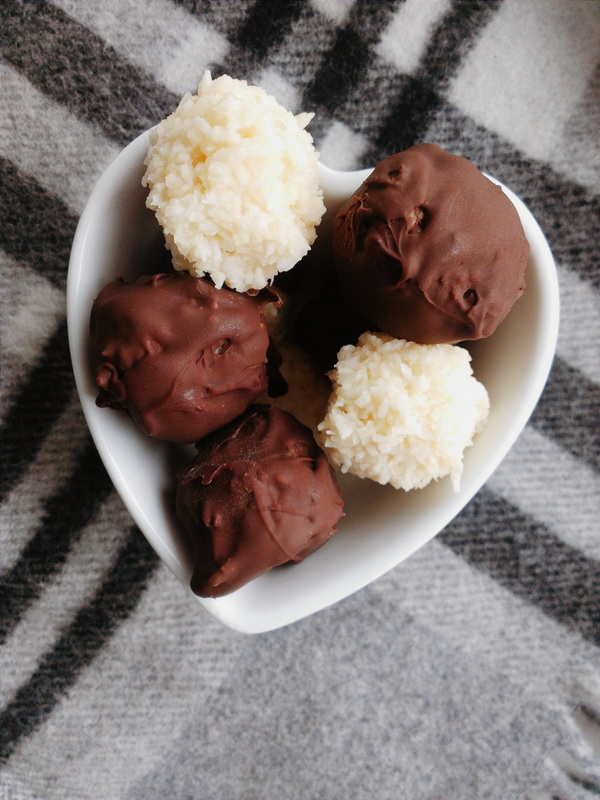
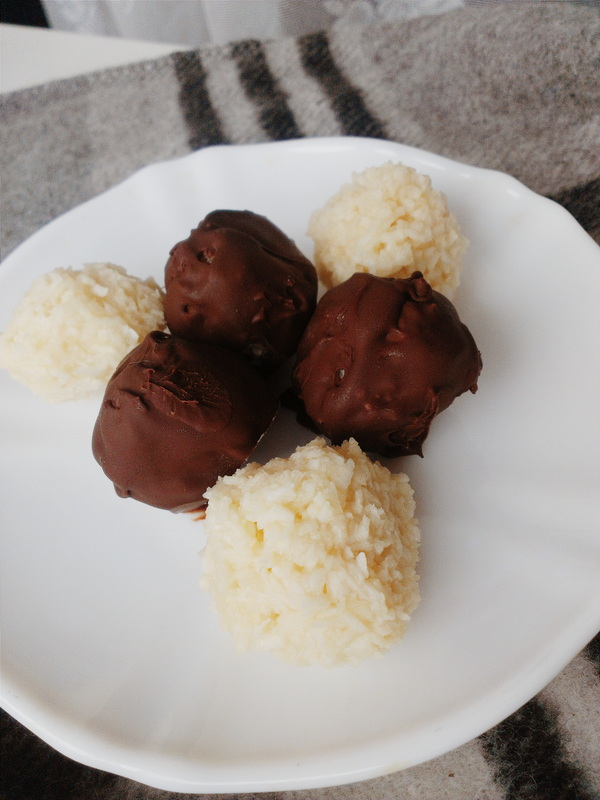
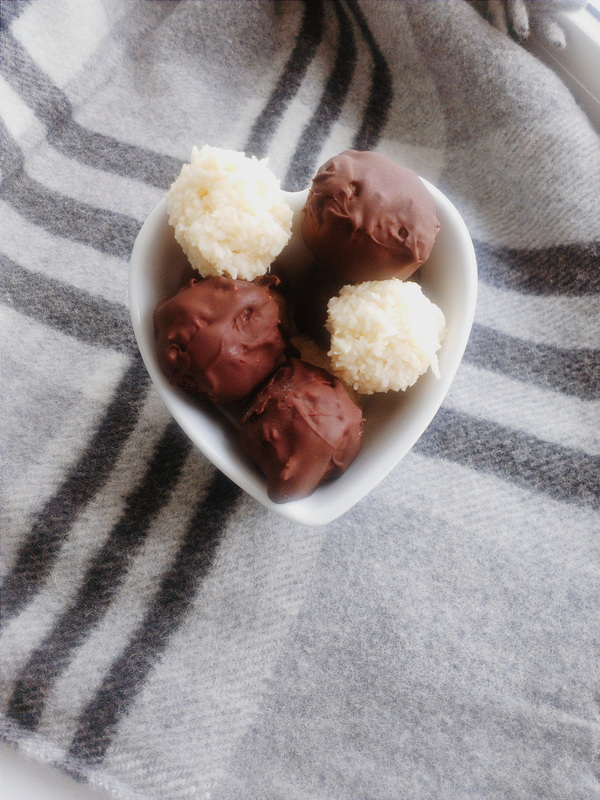
Coconut filled Chocolates
Makes 14-16 candies
Ingredients:
1 c. coconut
4 tbs coconut oil
2 tbs maple syrup or honey
2 tbs water
½ tsp vanilla
pinch of sea salt
1 c. chocolate chips/chunks for melting
Makes 14-16 candies
Ingredients:
1 c. coconut
4 tbs coconut oil
2 tbs maple syrup or honey
2 tbs water
½ tsp vanilla
pinch of sea salt
1 c. chocolate chips/chunks for melting
Directions:
1. Mix the coconut with the coconut oil until it is evenly distributed.
2. I used maple syrup if you do as well add it and the water straight to the bowl of coconut. If you use raw honey I would mix the honey and water together first to soften the honey before adding it to the coconut.
3. Add the vanilla and salt and mix completely.
4. Let the mixture sit for 5 minutes so that the coconut absorbs the liquid in the recipe.
5. Now use your fingers to turn the mixture into bite size balls and place them on a plate covered in wax paper. Put the plate in the freezer for 10 or more minutes.
6. While you are waiting melt the chocolate in a double boiler or holding a small pot with the chocolate in it over a larger pot filled with boiling water. Make sure to continuously stir the chocolate until it is melted.
7. Now the coconut bits should be fully hardened. Once the chocolate is cool enough to handle it is time to dip the coconut bites into the melted chocolate making sure to fully cover all the coconut.
8. Place each bite covered in chocolate back on the plate and the plate back into the freezer.
9. The chocolates will be hard enough to handle in about 15 minutes, but the longer you give them the more solid they will become.
10. To serve them you might want to take them out of the freezer a few minutes before so they are not quite as cold, but do not leave them at room temperature for hours because they will melt.

 RSS Feed
